Top considerations you’ll want to make before your next bear hunt. You’ll learn the physical work, how to gear up, how to practice bowhunting skills prior to the big day, and what bowhunting “heat” to pack. Informative and to the point!
When looking into the technical aspects of modern-day archery, it’s easy to get confused and overwhelmed by the amount of information. Often lost in the discussion of efficiency in the sport is the importance of FOC in hunting arrows.
Back when people were shooting their homemade recurve and longbows with their cedar shafts, archery was simpler. People knew the limitations of their equipment and perfected their skills within those limitations. Today, the modern equipment affords much higher efficiency and lethality, but also requires more work of the user to determine the best setup for their needs.
While draw weight and length and their relationships to arrow elements like spine are generally easy to understand and apply, weight distribution on an arrow is typically more foreign to archers, especially those new to the sport. When we talk about weight distribution, we are referring specifically to a bias on the front of the arrow, or FOC (front of center.)
To easily grasp the concept of FOC, imagine that you are holding a four-foot-long wooden shaft. On one end of the shaft is a spear point made of metal. Imagine grasping the shaft with the spear point closest to you rather than at the front of the shaft. If you throw that spear, it will wobble in the air and would possibly even turn 180 degrees. However if you throw the spear the way it was intended, with the point out in front, the shaft will fly straight being lead by the heavy spear point with the lighter shaft following behind.
The same principle applies to bowhunting arrows. Arrows that have more weight shifted to the front of the arrow will fly straighter than those that have weight balanced in the center of the arrow.
An important thing to remember when considering FOC is that as always is the case in physics, there must be a tradeoff. As expected, the more weight you add to an arrow, the more quickly it will drop. That is why it is important to find the perfect balance in your FOC distribution to ensure maximum efficiency.
We talked a few weeks back about what that percentage should be. Easton Archery, in their years of testing and research suggest that the best percentage of FOC for your arrows should be 10-15%. Visit their website and our previous article to better understand what that percentage means:
Understanding FOC is only half of the battle. Applying it can be complicated and expensive. A simple solution would be to go from 100 grain tips to 150 grain tips. This doesn’t allow for much in the way of fine tuning however, and will only get you so far. Some will replace their plastic veins with feather while others will use heavier brass inserts in their shafts. There are some ready made arrows that are tuneable and effective at getting you to the desired FOC percentage, but they are expensive.
You’re probably thinking, “Well, this is all fine and good, but I don’t want to buy all new arrows or change the ones that I have, just to have to re-tune my entire setup.” Here is where we have the ultimate solution.
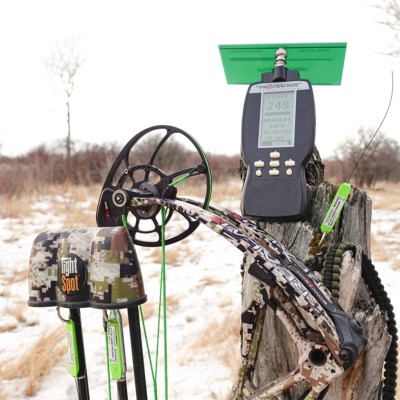
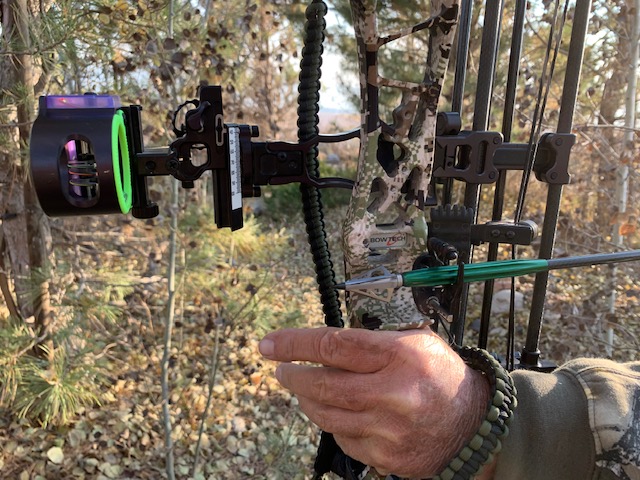
The Bad Boys™ by Pro-Tracker Archery are an easy to use FOC adjustment product. They are compatible with your current bow and arrow setup, and they don’t require you to re-sight or re-tune your bow. They simply slide onto the front of the shaft, directly behind your chosen field tip or broadhead, then are ready to shoot. They come in sizes ranging from 100 grains to 400 grains, meaning that you can pick the size that will work for you and your current setup. Additionally, because they are an outsert on your arrow shaft, they will protect your arrow from impacts that would normally cause them to crack or be otherwise damaged.
Check them out here and if you have any questions, please reach out at info@pro-tracker.com.
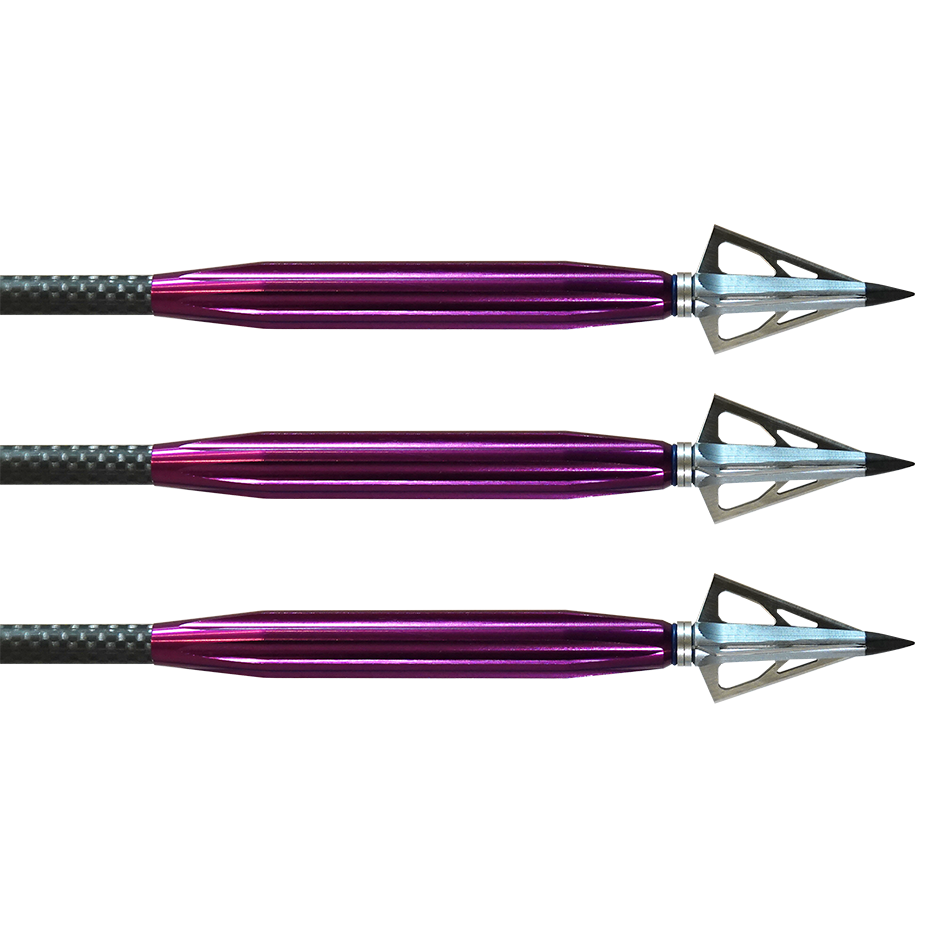
Bad Boys Protection Collars, Compound
Bad Boys™ are an FOC arrow sleeve that slides over the shaft of your arrow, allowing your shot to carry more momentum for fatal penetration.
FOR COMPOUND BOWS ONLY
Most popular sizes: 100gr and 125gr
Fits Standard OR Micro Shaft Arrows
Shoots great 20, 40, 60+ yards with only minor adjustments
Effective shots with increased inertia
Increase your shots momentum without sacrificing accuracy
Easy to use and interchangeable, both in field and range
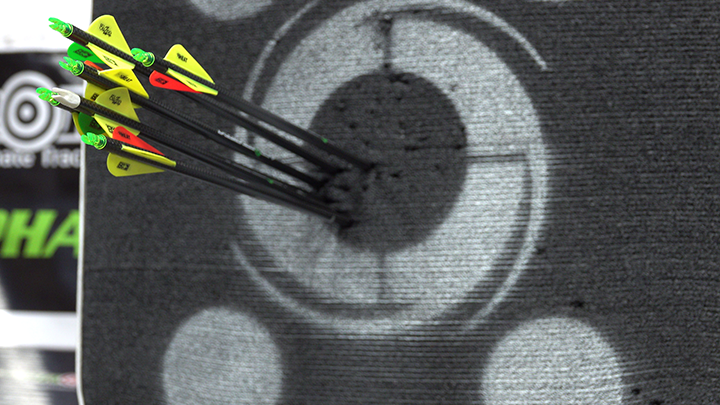
The Bad Boys™ are engineered to shoot where your current arrow is dialed in; It’ll hit the same place around 20-30 yards. With farther distances, like 40, 50, 60 yards, it will only need minor adjustments. We made a product that is easy to switch sleeve weights out in the field without having to fiddle with retuning!
We’ve talked in previous weeks about how to prepare the shot on a big buck in the off-season. This time, we want to give you some tips on how you can prepare while you wait for him in the tree stand. These tips were inspired by Weekend Woodsmen on YouTube, check their original video out here: https://youtu.be/UVMsZ8aWbDU
Preparation is key in hunting. A good hunter will scout, manage food and practice in the off-season to prepare for opening day. That preparation continues right up to the trigger pull.
Get Comfortable
The first thing you should do to prepare the shot is; get comfortable. Catch your breath from the hike in and the climb up the stand. Relax and get ready to hurry up and wait. Chances are, you’re going to be up there for a while, so take your time. Get your bearings and shoo off any jitters that would cause you to miss a shot.
Range the Area
As soon as you’ve gotten comfortable, look around and guess at the ranges around your stand. Identify markers like trees, bushes or other nearby landmarks and guess how far away they are. Only after you have guessed at these points, should you get out your range finder to see how accurate your guesses were. This will do two things for you:
First, it will allow you to closely estimate how far your buck is when you’re ready to draw. Meaning that you won’t have to fumble with your range finder while you should be sighting in on your animal. Second, it will teach you how to better estimate distances. If you’re like most hunters, you’ll have plenty of time in the stand to distance your entire area.
Go Through the Motions
A crucial exercise that you should practice is going through the motions on non-shooter deer. When a deer comes into range, go through all of the same motions that you would on a big buck, minus pulling the trigger. This will do many things for you: It will help you see if you’re too easy to be flagged, it will let you practice your technique in drawing and sighting on a live animal, and it will calm the nerves when the big buck comes.
Accessories
We at Pro-Tracker Archery sell products that will help you to prepare the shot even further. By using the Bad Boys™ to increase your arrows FOC and the Pro-Tracker System to track your wounded game, and our premium high-quality arrows, your chances of a successful hunt will increase dramatically. Check them out here: https://pro-tracker.com
Prepare the shot in these ways and you will be prepared to make the killing shot on your animal. That way, you won’t be caught off guard when the time comes. Good luck and happy hunting!
When it comes to the life of an animal, it is imperative that we do all that we can to ensure that taking that life is quick, clean, and respectful. Nothing sold in the archery market will compensate for a poor shot, and that poor shot could mean the difference between a clean kill and a non-fatally injured animal. We’ve compiled a list of 9 archery Accuracy tips that you should use to increase your accuracy in archery. Whether you’re a seasoned veteran, a green novice, or even a competition archer only shooting at paper and foam, these tips will help you close the gaps between your arrows.
1. Get Consistent With Your Anchor Point
It’s easy enough to master your anchor point on the range or in your backyard. But what about if you’re wearing a heavy coat, or shooting from a tree stand? Different variables will change the way you anchor your bow, so practice anchoring in ways that simulate what it will be like out in the field. The average archer will raise and lower their bow arm to acquire and inclined or declined target. This changes the way that archer looks through their peep. An easy solution is to draw and anchor your bow as if you’re shooting on level ground, then bend at your back or hips.
If anchoring even on level ground is a struggle, consider installing a kisser or nose button. Supplementing your peep sight with a second point of reference will ensure a consistent anchor point, even when shooting from awkward positions.
2. Avoid the “Death Clench”
Let the bow rest on your hand, rather than gripping it.
Properly gripping a bow starts before you even purchase one. When shopping for a bow, test the grip of each one. If anything feels “off” or foreign, eliminate that bow from your list of potentials.
Cold weather is most often was causes, even seasoned bow hunters, to grip their bow too tightly. Too much torque on the bow causes the string come out of line with the cams, which leads to the arrow shooting inconsistently.
The next thing to check is that you are gripping the bow appropriately. Many archers grip differently, but generally speaking you want the bow to rest in your hand, rather than being held by it. In other words, the bow should be on your hand, the same way a rifle would rest on a bi-pod.
3. Avoid Bow String Contact
Compared to our other archery accuracy tips, this one seems obvious. Keep sleeves, forearms, and any other potential point-of-contact away from the path of your bow string. However, when buck fever kicks in, and your shivering from the cold, wearing your large hunting coat, it is tough to keep in mind all of the potential hazards that lie in the way of your bow string.
Just as in finding your anchor, practice shooting in situations that you would find yourself hunting in. Get into a tree stand, wear what you’d wear hunting, draw and hold your bow for longer than you intended.
4. Set a Proper Draw Weight
The animal your hunting doesn’t care how strong you are. Neither should your hunting buddies. Don’t get caught up in showing off your draw weight on your bow, because chances are, it’s unnecessary and impractical.
Set your draw weight so that you can pull it back comfortably in awkward positions, cold weather, or filled with adrenaline. An accurate bow with a low draw weight is always more deadly than a bow you can’t pull back.
5. Don’t Punch the Trigger
These are as much archery accuracy tips as they are firearm accuracy tips. Just as in firing a long range riffle, subtlety and fluidity is the key to an accurate shot with a bow. Pulling the trigger should be deliberate and smooth. Punching or jerking the trigger will alter your shot just enough to make a big difference, especially the farther away from your target you are.
Avoid anticipating your shot. Take a breath, clear your head and pull the trigger.
Too many people assume that their broadheads will shoot the same way their field tips do. Rarely is this the case. Most hunters find it necessary to practice with their broadheads until they find that they are getting the same grouping as they do with their field points. This is crucial for making that shot count when you’re adrenaline is kicking in.
In some cases, equipment may be to blame for a missed shot. However, that doesn’t excuse the archer from doing all that they can to be as effective with their equipment as possible.
7. Embrace the Meltdowns
Every hunter experiences buck fever. If anyone tells you that they don’t their lying to you. Even the pros and the competition archers experience fear and adrenaline that causes their bow arm to shake. It’s important in these cases to not lie to yourself and ignore the feelings. Accept that you’re nervous as hell and adapt.
Replicating the high-stakes emotions of a hunting scenario are difficult, and it’s up to you do determine if and how you want to simulate that. Just remember that no amount of preparation will stop you from getting nervous when that buck comes into your sights. And be ok with that.
8. Avoid Low-Percentage Shots
Just because you can shoot a good group at 90 yards, it doesn’t mean you should take that shot in the field.
Matt True, a successful bowhunter once said in a conversation with Darron McDougal of Grand View Outdoors, “Tree limbs, misjudged distances and poor shot angles all become factors when hunters force shots,” he said. “When an animal you want to harvest comes within range, the temptation to shoot can be overwhelming. But, if a tree limb obstructs the vitals or the animal doesn’t present a high-percentage opportunity, letting it walk away could be your best chance to harvest it another day. If you miss or make a poor hit due to forcing a shot, it’s possible you’ll never see it again.”
No amount preparation or reading archery accuracy tips should allow for low percentage shots. I don’t care how much you’ve practiced; taking a bad, low-percentage shot is impermissible. In fact, it’s downright unethical and portrays a poor image for hunters and the hunting community. Take only shots you know you can make. It’s your responsibility.
9. Create a range
There’s no substitution for practice, practice, practice. It’s nearly the golden rule of archery. It’s difficult to practice without your own range set up in your backyard. And it’s much easier than it looks! Creating a Backyard Archery Range is an awesome article if you’re still wondering how in the world you’re going to set up a range in your backyard.